

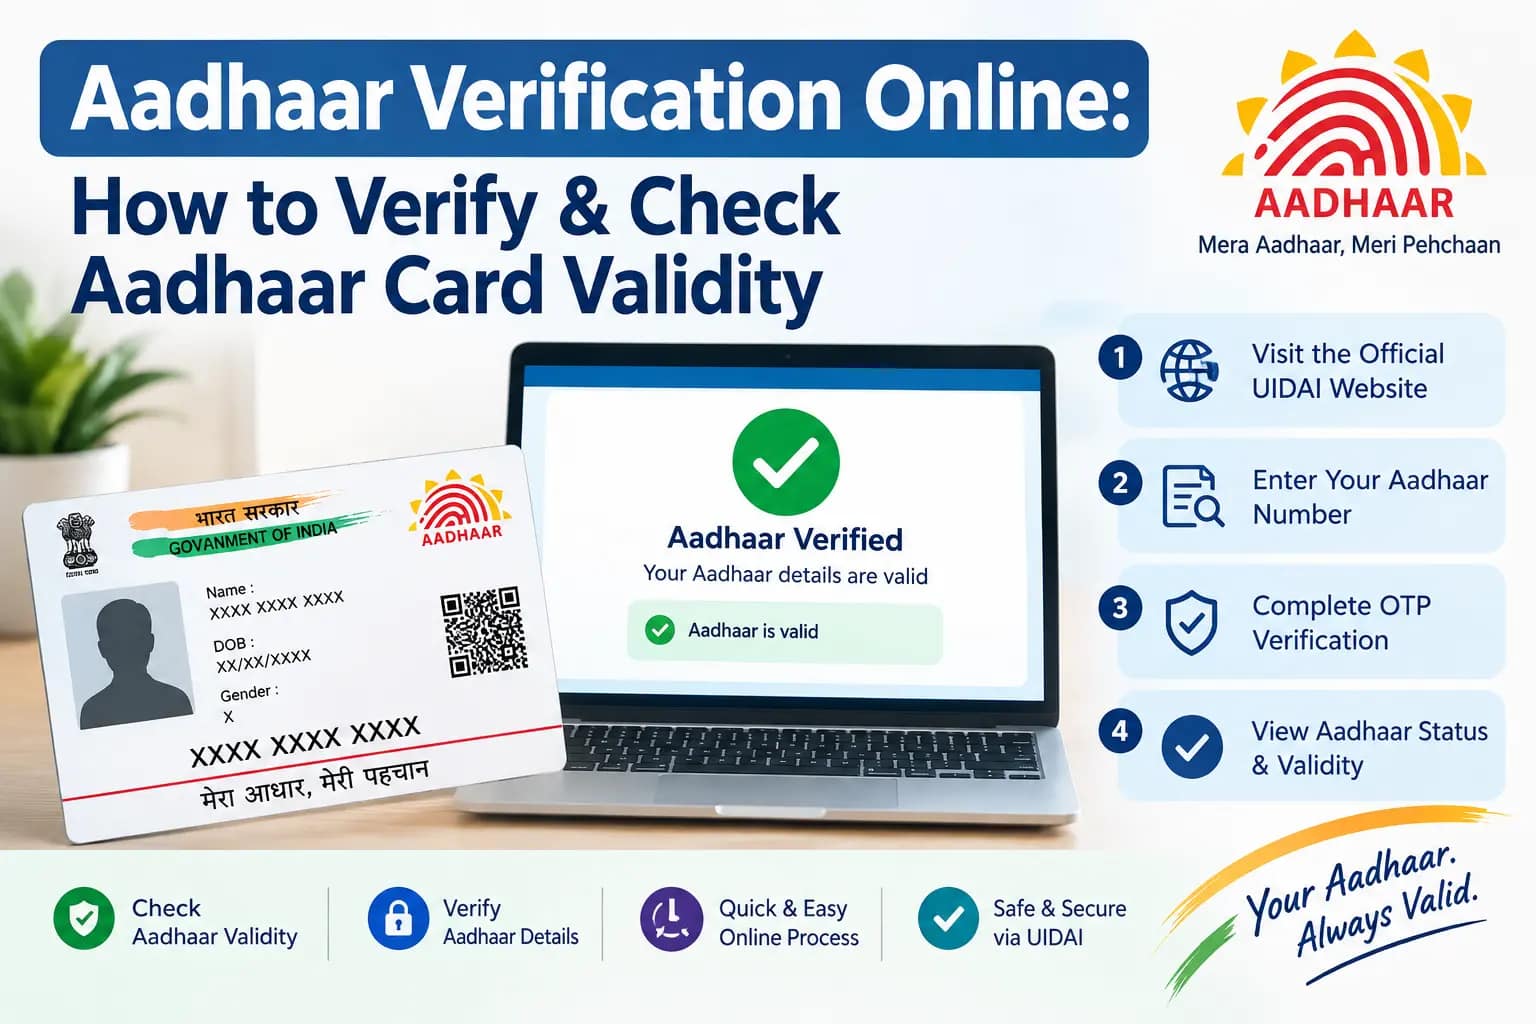
Your bank wants e-KYC done by Friday. Your new SIM won’t activate until your Aadhaar is authenticated. Or worse — you’ve been trying to download e-Aadhaar for two days and the OTP just won’t arrive because the mobile number linked to your Aadhaar is an old one you gave up years ago. These are the situations that send people searching for aadhaar verification, and they’re rarely about curiosity. They’re about a deadline.
The trouble is that “verify Aadhaar” gets used for at least four different things: checking whether a number is structurally valid, confirming your own registered mobile number, reviewing where your Aadhaar has been used, and the live authentication that banks and telecom companies run. Each has a different process, a different portal section, and a different set of things that can go wrong. This guide sorts them out one by one — and flags the pitfalls that waste the most time.
What Aadhaar Verification Actually Means
Four distinct processes get lumped under one phrase, and mixing them up is the first mistake.
Aadhaar validation is a format check. Every Aadhaar number carries a Verhoeff checksum — a mathematical rule that catches typing errors. Run a number through the UIDAI validation tool and it tells you whether the digits are structured correctly. Nothing more. A number that passes could still belong to a cancelled or inactive record; a number that fails is either mistyped or fabricated.
Aadhaar authentication is the live version. A bank, telecom operator, or government department submits your Aadhaar number plus a fingerprint, iris scan, or OTP to UIDAI’s systems and receives a yes-or-no response. UIDAI does not hand over your personal details in return — it only confirms whether the identity claim matches. This distinction is what makes Aadhaar-based e-KYC (electronic Know Your Customer) privacy-preserving enough to be legally usable.
Authentication history is your own audit trail — a log of every authentication request made against your Aadhaar, viewable by you and no one else.
e-Aadhaar validity concerns the downloadable PDF: whether it’s current and whether its digital signature is intact.
Four terms you’ll need: UIDAI is the Unique Identification Authority of India, which issues Aadhaar. EID is your 28-digit Enrolment ID, printed on the slip you received at enrolment. VID is a Virtual ID — a temporary 16-digit number you can generate to use in place of your actual Aadhaar number, so you’re not handing out the real one everywhere. e-KYC is the paperless verification built on authentication.
Read More About👇
How to Verify an Aadhaar Number Online
Say a tenant or a new employee hands you their Aadhaar number. You want a basic sanity check before you proceed.
Using the UIDAI Validation Tool
- Open the official UIDAI website at uidai.gov.in.
- Find the Aadhaar validation service — it sits under the “My Aadhaar” / “Aadhaar Services” area, though UIDAI occasionally reshuffles the menu.
- Type in the 12-digit Aadhaar number.
- Complete the captcha.
- Submit.
You’ll get a pass or fail on format. That’s the entire scope of what this tool does.
Pitfall #1: People treat a pass as proof of identity. It isn’t. It means the digits are typed correctly and the checksum works out. To confirm that the person in front of you is the person on the Aadhaar record, you need real authentication through an authorised agency — a bank, a telecom operator, or another UIDAI-licensed user agency.
Pitfall #2: The portal session times out faster than you’d expect, often while you’re hunting for the Aadhaar number. Have the number ready before you open the page, or you’ll be re-entering the captcha repeatedly.
Using the mAadhaar App
The mAadhaar app (Android and iOS) is UIDAI’s official mobile companion. Once you’ve set up your profile with an OTP to your registered mobile number, you get a VID generator, your Aadhaar profile, and authentication-related services in one place. For most people it’s the most practical way to carry a usable Aadhaar.
What You Cannot Do
You cannot look up a stranger’s Aadhaar-linked address, photograph, or personal details. No legitimate portal permits it. Any site or app offering to reveal this for a fee — or asking for an OTP to “unlock” someone’s details — is a harvesting operation. The correct route for verifying another person’s identity is through an authorised authentication user agency, not a website you found in a search result.
How to Check Aadhaar Authentication History
This is the single most underused feature on the UIDAI portal. It shows you every authentication request made against your Aadhaar, and it’s how you catch misuse before it becomes a problem.
- Go to the UIDAI portal and open “Aadhaar Authentication History” (under “My Aadhaar”).
- Enter your Aadhaar number or VID.
- Enter the security code and request an OTP.
- The OTP arrives on your registered mobile number, and by email if one is linked.
- Enter the OTP to log in.
- Pick your date range and authentication type — demographic, biometric, OTP-based, or all.
- Submit.
You’ll see a list: date, time, and authentication type for each request.
Pitfall #3: The portal caps how far back you can search in one go, so if you’re auditing a full year, you may need several passes with different date ranges. Also — if your registered mobile number is out of date, you won’t get past step 4 at all.
If something in that list is unfamiliar, act on it. The standard move is to lock your biometrics temporarily through the UIDAI portal or the mAadhaar app — this blocks biometric authentication until you unlock it — and then report the matter to UIDAI’s helpline.
How to Verify the Mobile Number Registered with Your Aadhaar
Nearly everything useful on the UIDAI portal — e-Aadhaar download, VID generation, OTP authentication — depends on a current mobile number. If you don’t know which number is on record, there’s a way to find out.
- On the UIDAI website, open the registered mobile verification service under Aadhaar Services.
- Enter your Aadhaar number or VID.
- Complete the captcha and request an OTP.
- The OTP goes to whichever number is currently registered against your Aadhaar.
That’s the whole test. If the OTP lands on the phone in your hand, that’s your registered number. If nothing arrives, the registered number is a different one — possibly one you no longer have.
This confirms your own registered number only. There is no version of this process that reveals someone else’s.
If You No Longer Have Access to the Registered Number
You changed SIM cards. The number was in a parent’s or spouse’s name and they’ve since given it up. It happens constantly, and OTP-based verification simply cannot work in this situation.
The resolution is in person: visit an Aadhaar Seva Kendra or a designated enrolment/update centre, where biometric authentication confirms your identity and the mobile number gets updated. Take your existing Aadhaar card, and any supporting documents the centre asks for — requirements vary by the type of update, so check the official UIDAI portal or call the UIDAI toll-free helpline before travelling. Fees and turnaround times are revised periodically; don’t rely on figures from an old blog post, including this one.
A word of caution: the Aadhaar Enrolment/Update Client software is what authorised centre operators use. It is not something you install at home, and anyone offering to change your Aadhaar-linked mobile number remotely without biometric verification is not following a legitimate process.
Verifying Your Aadhaar When You Need e-Aadhaar
Downloading e-Aadhaar normally requires an OTP to your registered mobile — verification by another name. When the OTP doesn’t arrive, work through these in order:
- Confirm the number on record. If it’s outdated, no amount of retrying will help. Update it in person.
- Check your SMS folders. OTP messages get swept into spam or promotions more often than people expect, particularly on Android with aggressive filtering.
- Request a fresh OTP. They expire quickly. If you paused to read the previous section, start over.
- Try the email route. If your email is linked to Aadhaar, some services will send the OTP there instead.
- Open the mAadhaar app. If you set up your profile previously, you may be able to reach your Aadhaar without a new OTP.
UIDAI has also offered a face authentication route for certain e-Aadhaar and Aadhaar services, and VID-based download as an alternative to entering your Aadhaar number directly. These options get revised, so check the current process on the official portal rather than following a tutorial from two years ago.

Documents Required for In-Person Aadhaar Verification or Updates
If your situation requires a visit to an Aadhaar Seva Kendra or enrolment centre, bring:
- Your existing Aadhaar card — a printout is generally accepted; some centres accept a digital copy on your phone, but don’t count on it.
- The original supporting document for whatever you’re updating. For a mobile number change, biometric confirmation at the centre is usually what’s required rather than a separate proof — but this can vary.
- Your enrolment slip or EID if you’re updating details shortly after enrolment and don’t yet have an Aadhaar card.
Document lists and fees change. Verify the current requirements on the official UIDAI website or with the helpline before you make the trip.
Common Mistakes and Things to Watch Out For
Treating format validation as identity verification. A checksum pass says nothing about whether the person presenting the Aadhaar is the person it belongs to. Use proper authentication for anything that matters.
Sharing an Aadhaar OTP with a caller. No legitimate UIDAI process asks you to read out an OTP to anyone, including someone claiming to be from UIDAI. The OTP is for you to type into the official portal or app.
Using unofficial “Aadhaar verification” websites. Plenty look convincing. Their business model is collecting Aadhaar numbers and OTPs. Stick to uidai.gov.in and the mAadhaar app.
Assuming a failed validation means a fake Aadhaar. Aadhaar numbers are twelve digits and easy to mistype. Validation catches typos — that’s its main job.
Reading too much into “Aadhaar authentication failed.” Usually it means a fingerprint didn’t read cleanly, an OTP expired, or submitted demographic details didn’t match. Retry, or switch authentication modes.
Worrying about “Aadhaar number does not have verified mobile.” This means no mobile is linked, or the linked one isn’t verified. Common, fixable in person, and not a defect in your Aadhaar.
Frequently Asked Questions
How can I check Aadhaar card validity online?
Use the validation tool on the official UIDAI portal. It confirms the number is correctly formatted. Confirming that a specific person matches a specific Aadhaar record requires proper authentication through an authorised agency.
Can I verify an Aadhaar number without an OTP?
Format validation on the UIDAI portal doesn’t need an OTP. Anything touching your own record — authentication history, registered mobile, e-Aadhaar download — generally requires OTP verification.
What is the difference between Aadhaar authentication and Aadhaar validation?
Validation checks format and checksum. Authentication is a live check with UIDAI confirming whether a biometric or OTP matches the record. e-KYC runs on authentication, not validation.
How do I verify the mobile number linked to my Aadhaar?
Request an OTP through the UIDAI portal’s registered mobile verification service. If it arrives on the phone you’re holding, that’s your registered number. If not, the number on record is a different one and needs updating in person.
What should I do if I’m not getting an OTP from Aadhaar?
Check whether your registered number is current, look in spam folders, and request a fresh OTP. If nothing works, the registered number is outdated and needs an in-person update.
Is it safe to use third-party apps to verify Aadhaar?
Only the official mAadhaar app and the UIDAI portal should be trusted. Third-party apps requesting your Aadhaar number and OTP carry real risk of data misuse.
A Final Word
If you’ve updated your mobile number at a centre and the OTP still isn’t arriving, don’t assume the update failed. Aadhaar update records can take time to propagate through UIDAI’s systems, and the new number may not be active for OTP delivery immediately. Wait a few days before re-checking, and if it’s still not working after that, call the UIDAI helpline rather than making a second trip. Most verification problems trace back to one stale piece of information on your record — fix that, and everything downstream starts working again.